Availability
General availability. The Google Workspace connector is available to all ConductorOne users.Capabilities
- Sync user identities from Google Workspace to ConductorOne
-
Resources supported:
- Groups
- Roles
-
Provisioning supported:
- Group membership
- Role assignment
Set up the Google Workspace integration
1
In ConductorOne, navigate to Admin > Connectors > Google Workspace.
2
If this is your first Google Workspace integration, the integration form opens automatically. Otherwise, click Add connector.
3
Choose whether to add the new Google Workspace connector as a data source to an existing application (and select the app of your choice) or to create a new application.
4
Set the owner for this connector. You can manage the connector yourself, or choose someone else from the list of ConductorOne users. Setting multiple owners is allowed.
5
Click Next.
Next steps
- If you are the integration owner, proceed to Integrate your Google Workspace instance for instructions on integrating Google Workspace with ConductorOne.
- If someone else is the integration owner, ConductorOne will notify them by email that their help is needed to complete the setup process.
Integrate your Google Workspace instance
Step 1: Sign in to the Google Cloud Console and Create a New Project
1
As a Google Workspace Super Admin, sign in to https://console.cloud.google.com.
2
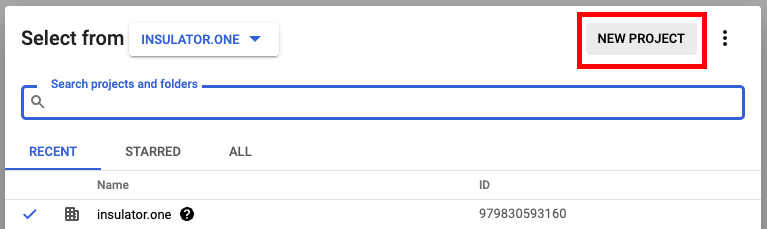
In the toolbar, click the project select dropdown, and click NEW PROJECT.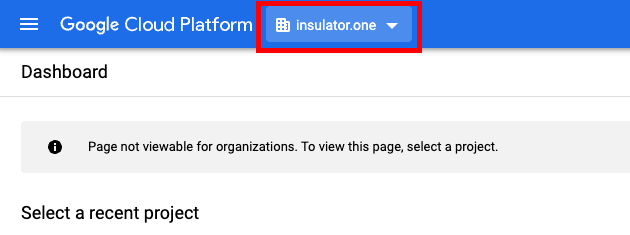
3
Create a new project for your organization: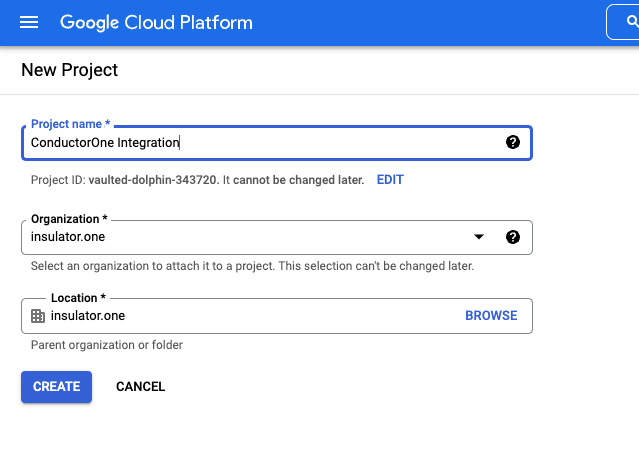
- Project Name: Choose a names, cush as “ConductorOne Integration”
- Organization/Location: Choose the appropriate Organization/Location
4
After the project is created, make sure the correct project is selected in the dropdown at the top.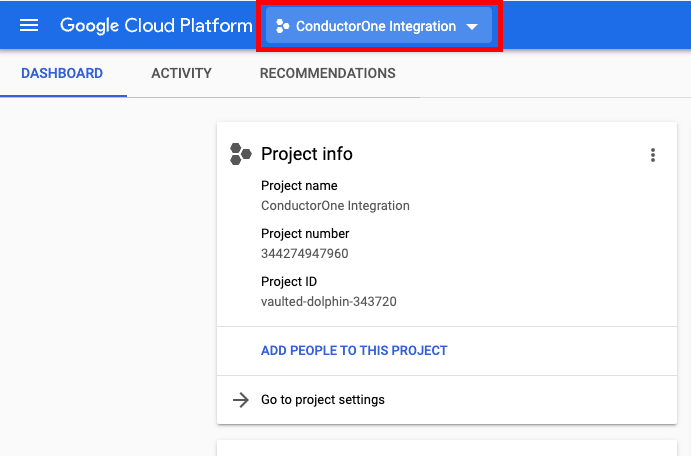
Step 2: Enable the API
1
In the navigation menu, navigate to > APIs & Services > Library.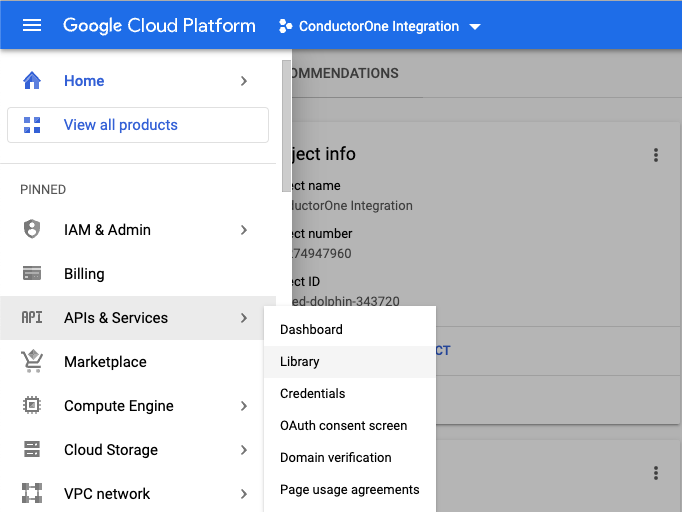
2
Search for and select the Admin SDK API.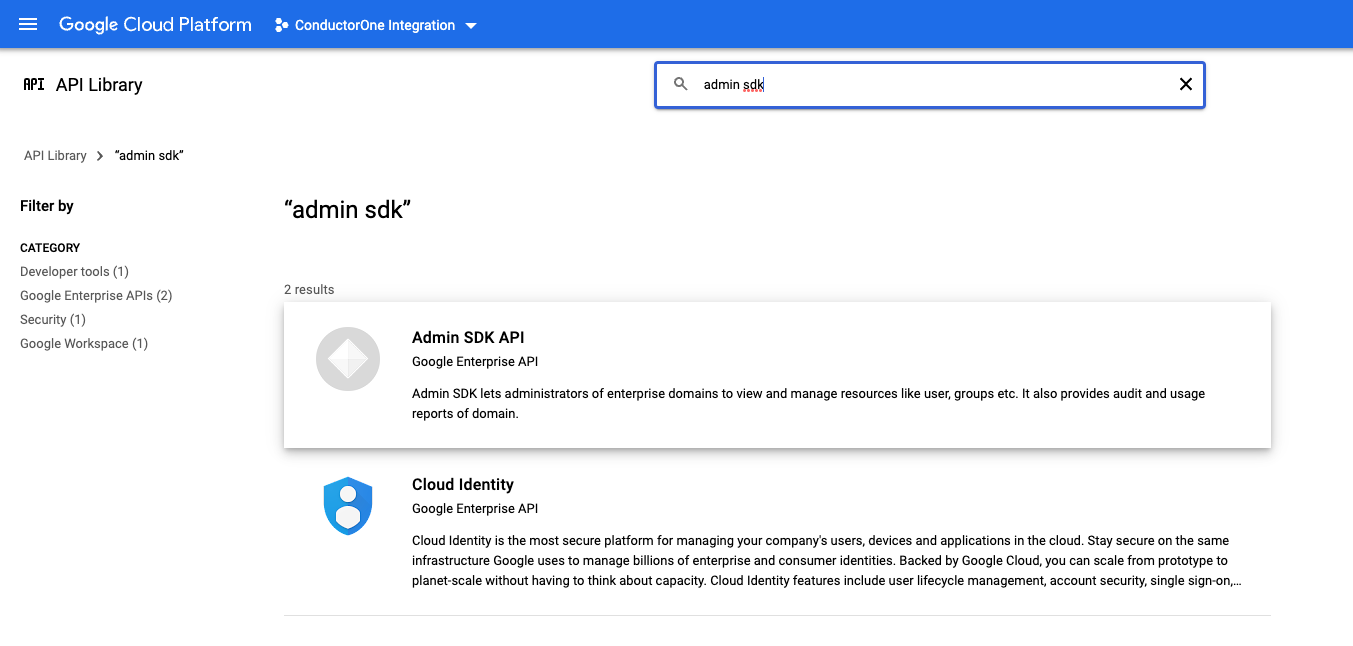
3
Click Enable.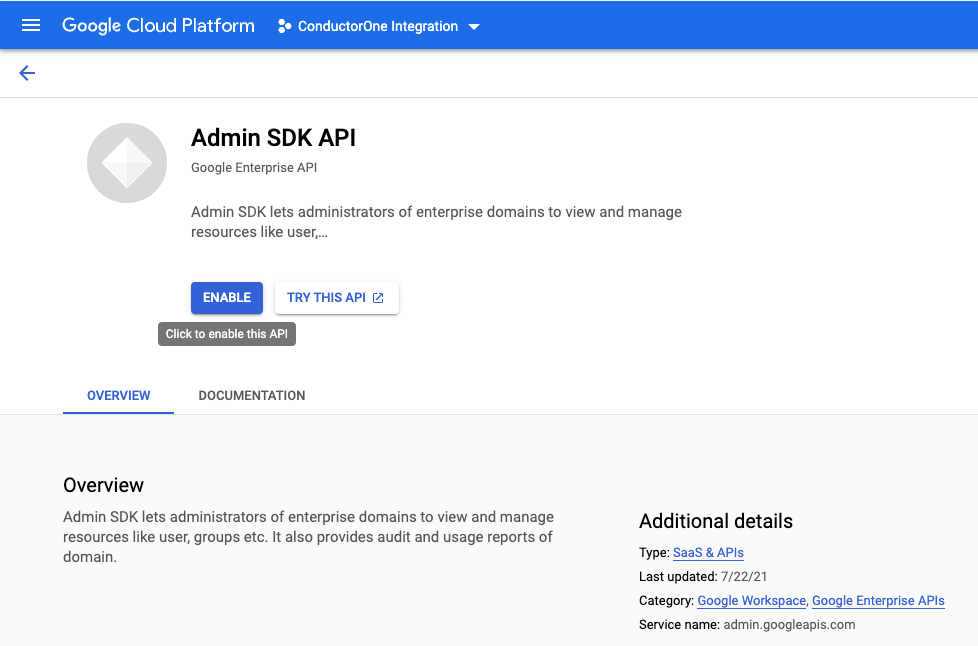
Step 3: Create a service account
1
In the navigation menu, navigate to > APIs & Services > Credentials.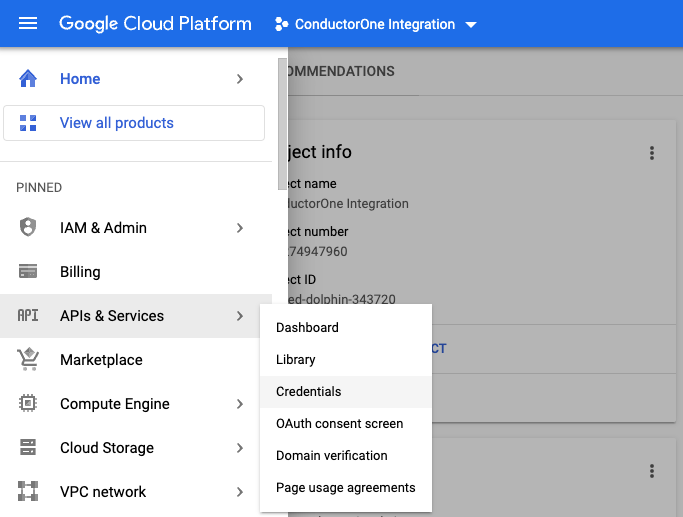
2
Select CREATE CREDENTIALS > Service Account.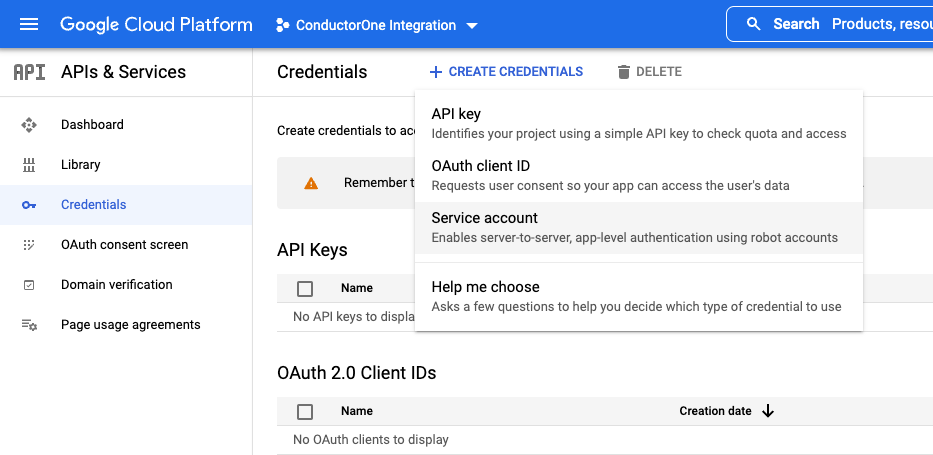
3
Under Service account details, fill in the following:
- Service account name: ConductorOne Integration
- Service account description: for example, “Service account for ConductorOne Google Workspace Integration”
- Click CREATE AND CONTINUE
4
Under Grant this service account access to a project, grant the Editor role.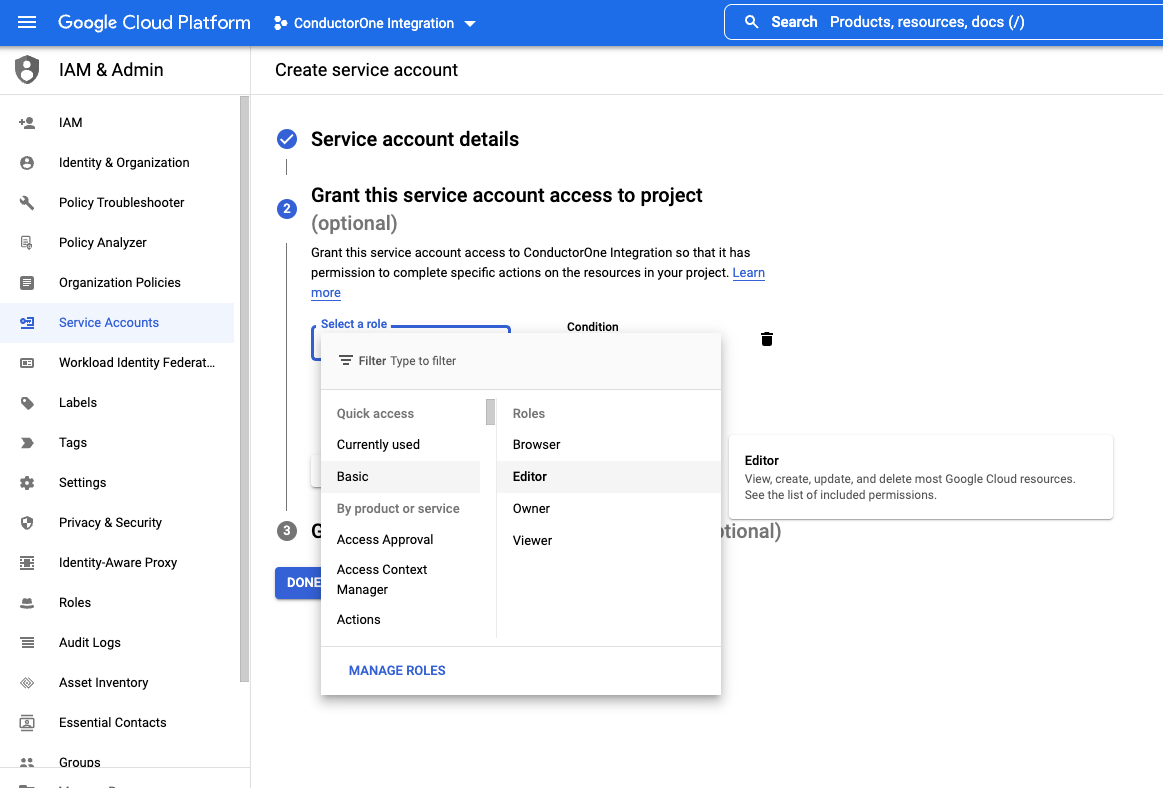
5
Leave Grant users access to this service account blank.
6
Click DONE.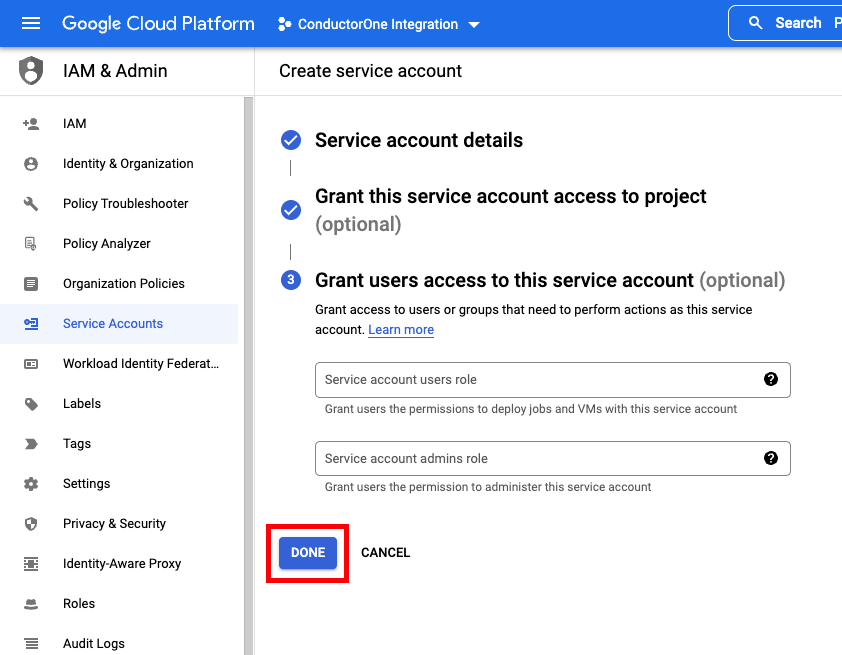
Step 4: Get credentials
1
Navigate back to APIs & Services > Credentials and select the service account you just created.
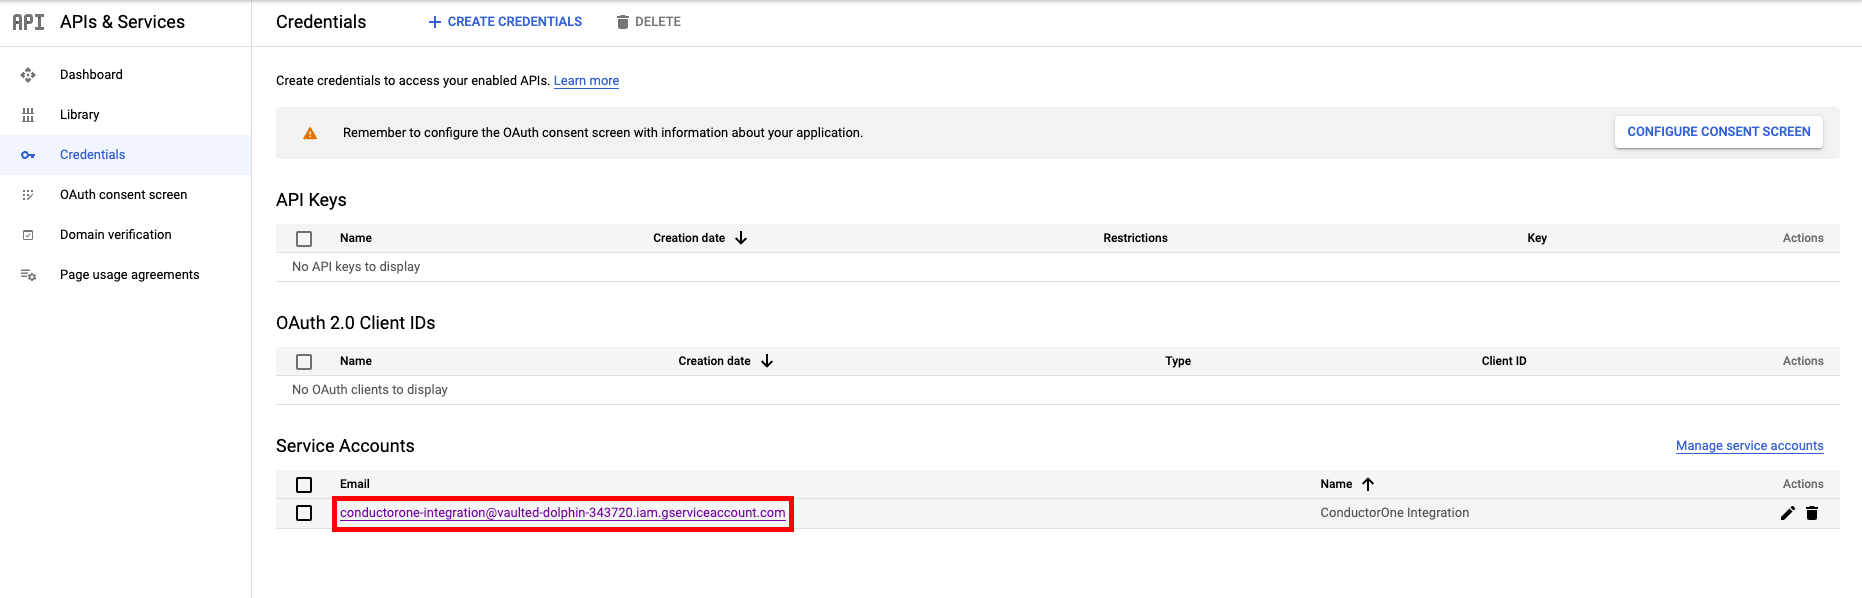
2
Click the service account’s email address. Locate and save the Unique ID. We’ll use this in Step 5.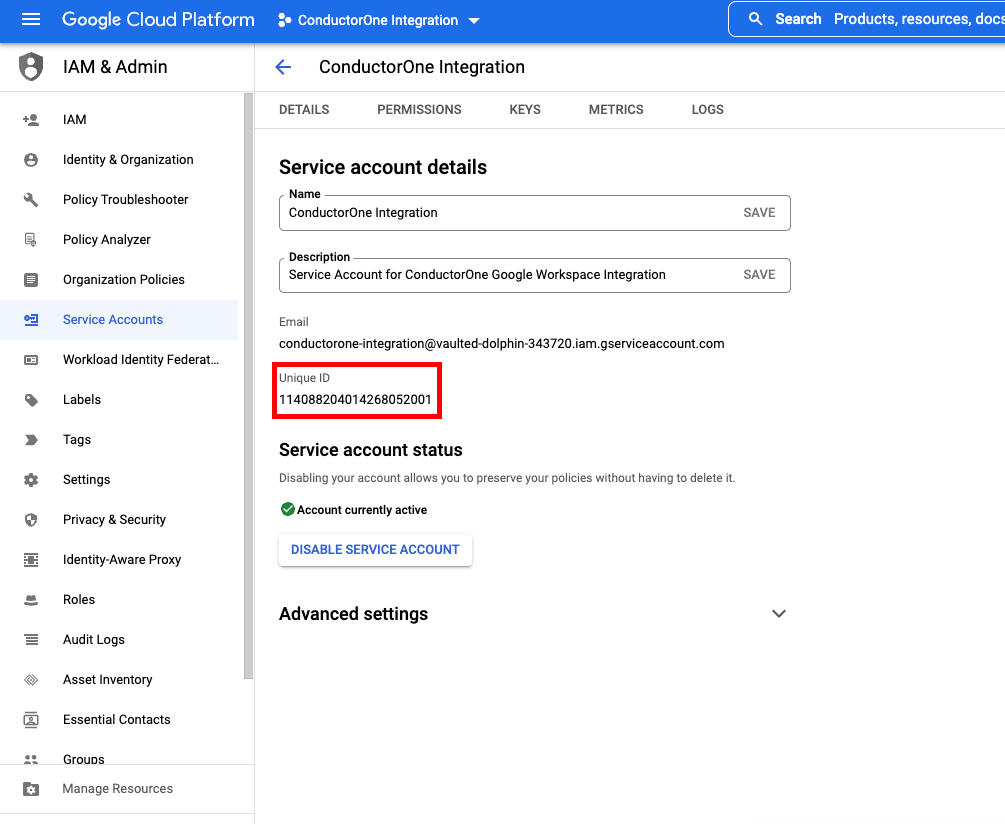
3
On the Service Account Details Page, click KEYS.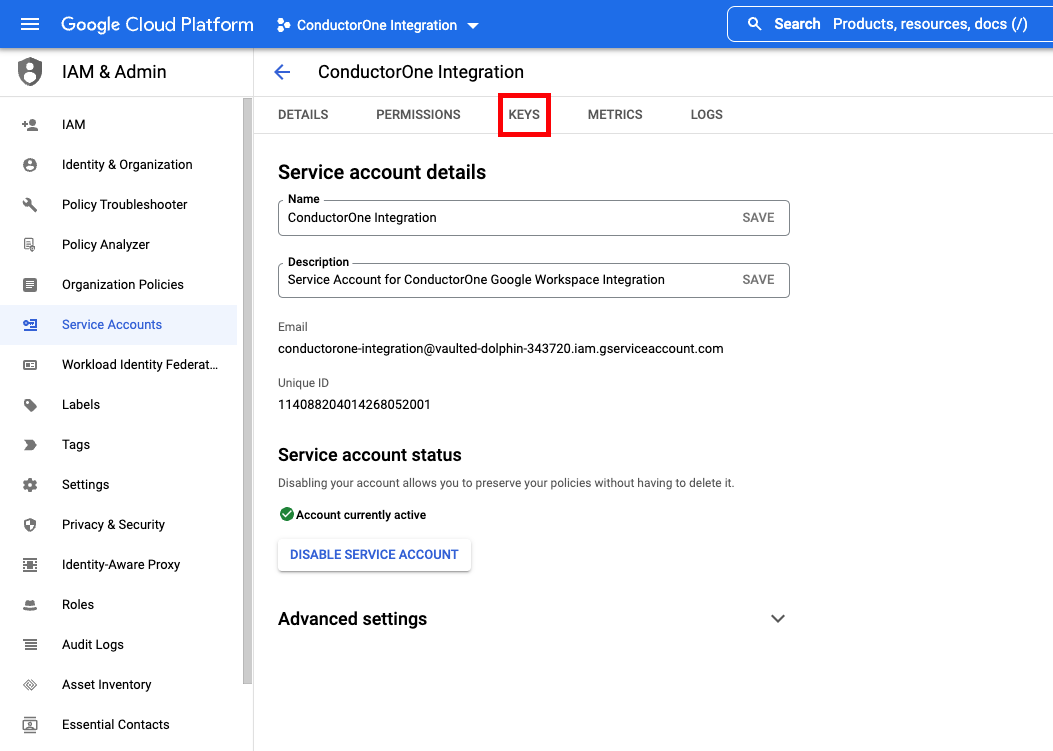
4
Click ADD KEY > Create new key.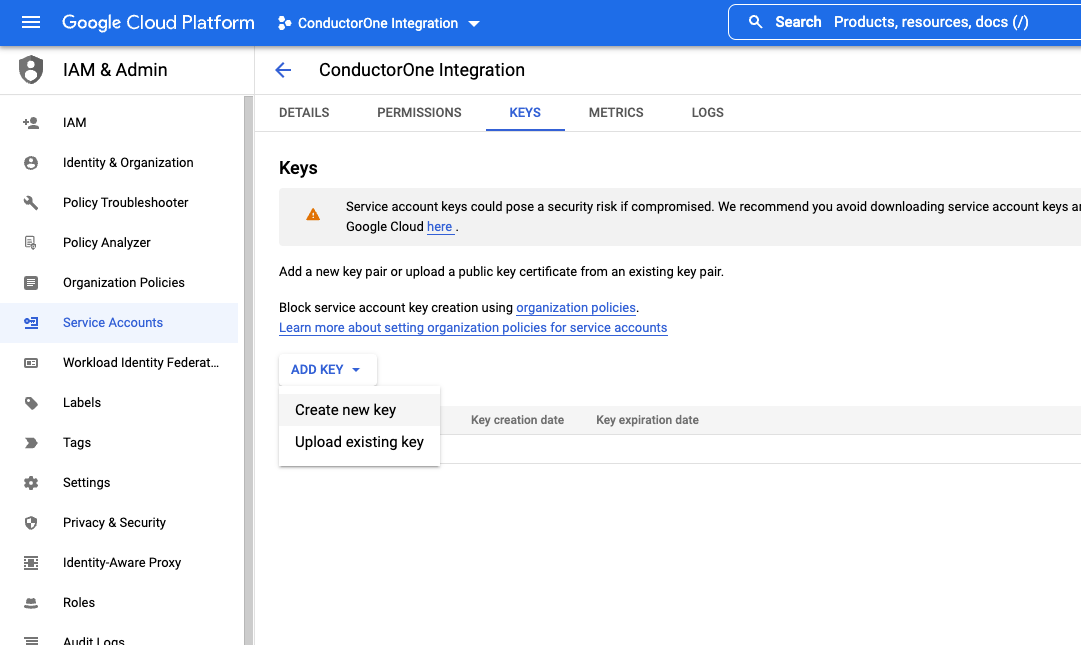
5
Choose JSON and click CREATE.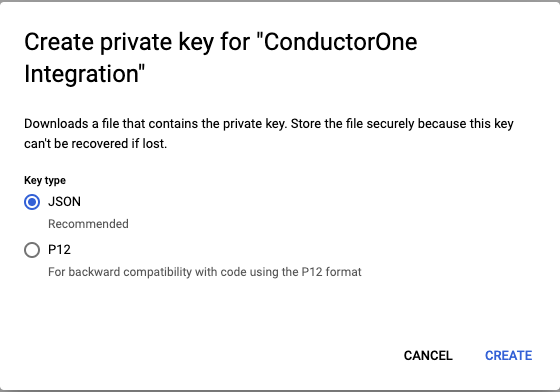
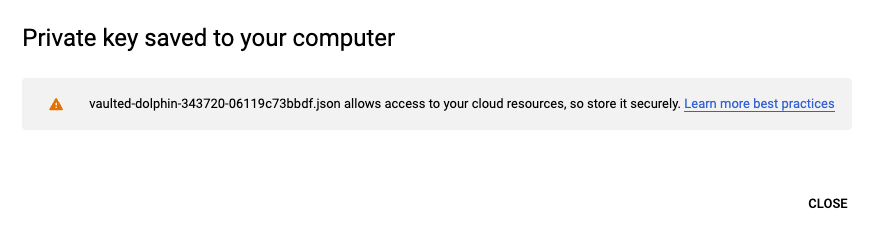
6
Keep the downloaded file safe. We’ll use it in Step 7.
Step 5: Add Service Account to Google Workspace
1
Go to https://admin.google.com as a SUPER ADMIN.
2
In the navigation menu, select Security > Access and data control > API Controls.
3
Click MANAGE DOMAIN WIDE DELEGATION.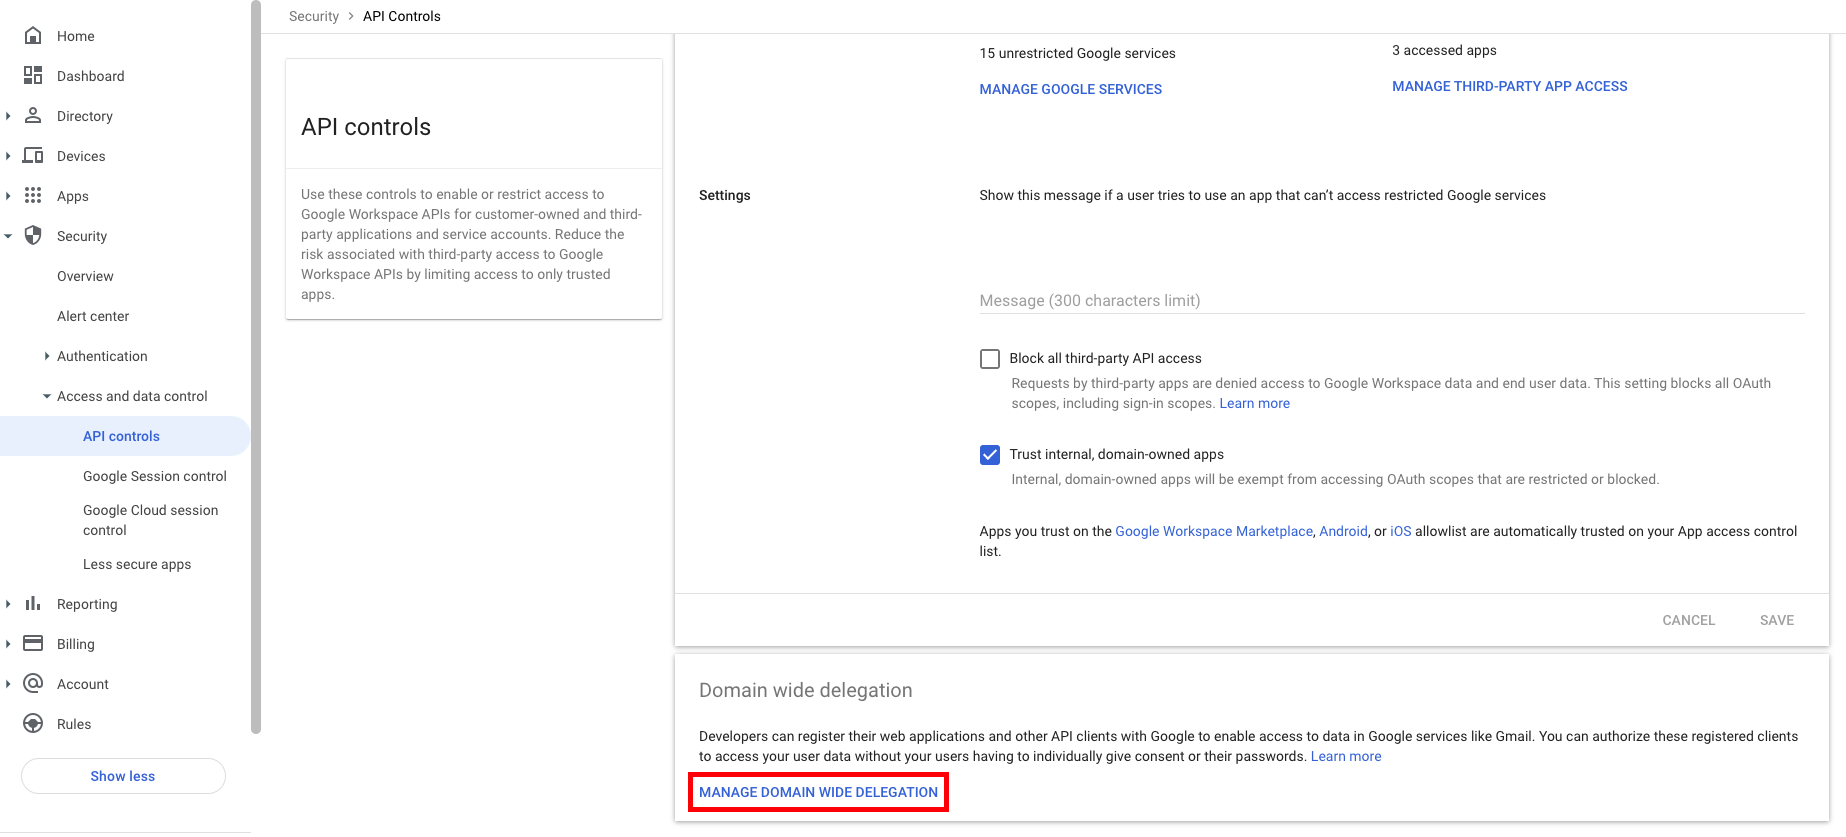
4
Click Add new and fill out the form:
- Client ID: The saved ID from Step 4
-
OAuth Scopes: Copy and paste one of the following lists of required scopes for your use case:
-
Use the following read-only scopes if you are not using the Google Workspace integration for provisioning:
-
Use the following scopes if you are using the Google Workspace integration for provisioning Groups and Roles:
-
Use the following read-only scopes if you are not using the Google Workspace integration for provisioning:
5
Click AUTHORIZE.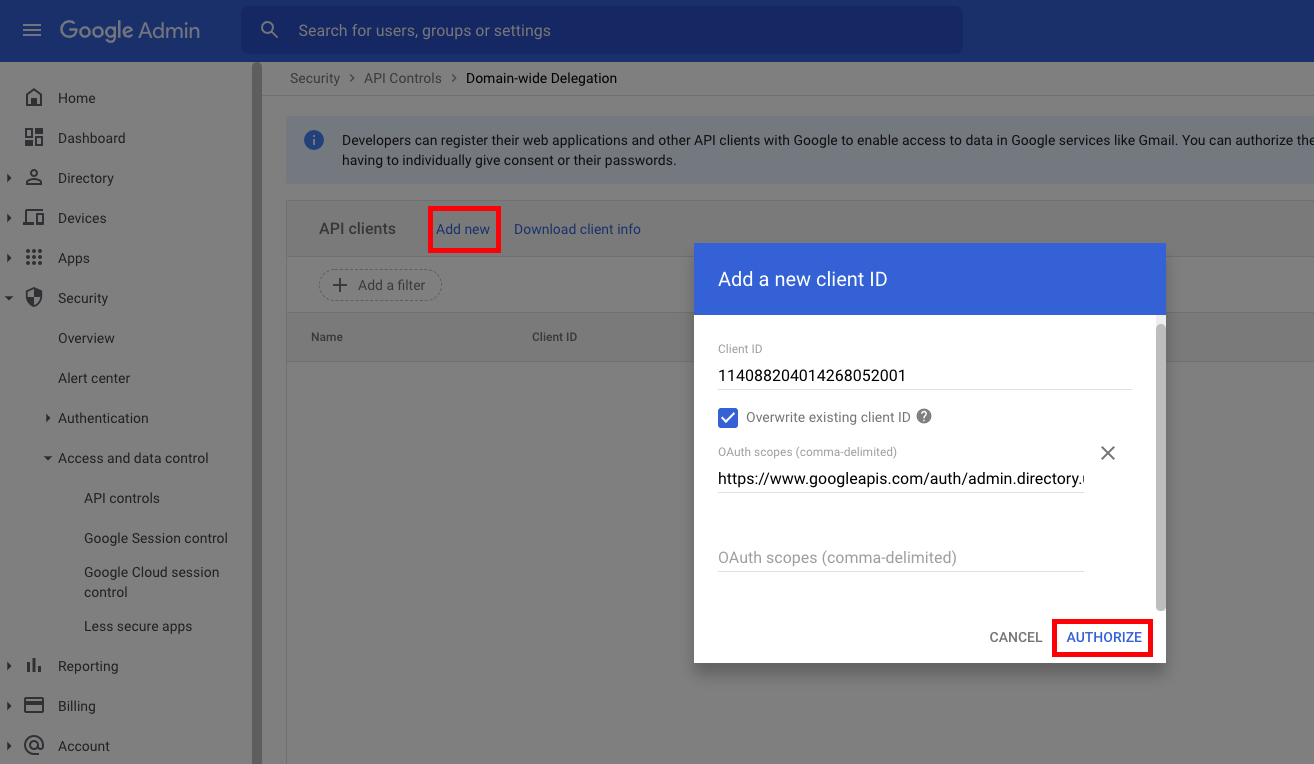
6
In the navigation menu, select Account > Account Settings.
7
Copy the Customer ID from this page. We’ll use it in Step 7.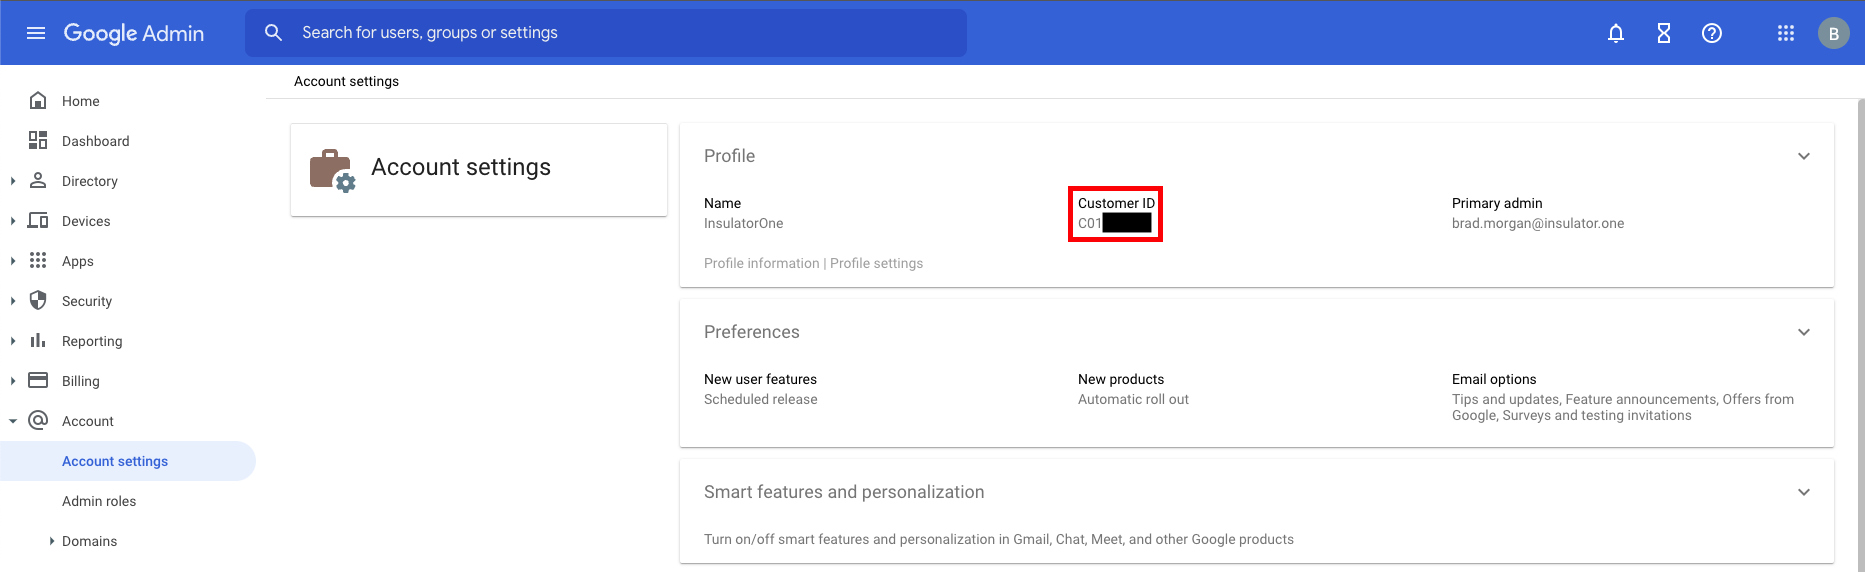
Step 6: Locate your Primary Domain
1
In the navigation panel on the left, click Account > Domains.
2
Click Manage Domains. Locate and copy the domain labeled as the Primary Domain in the Type column. We’ll use this in Step 7.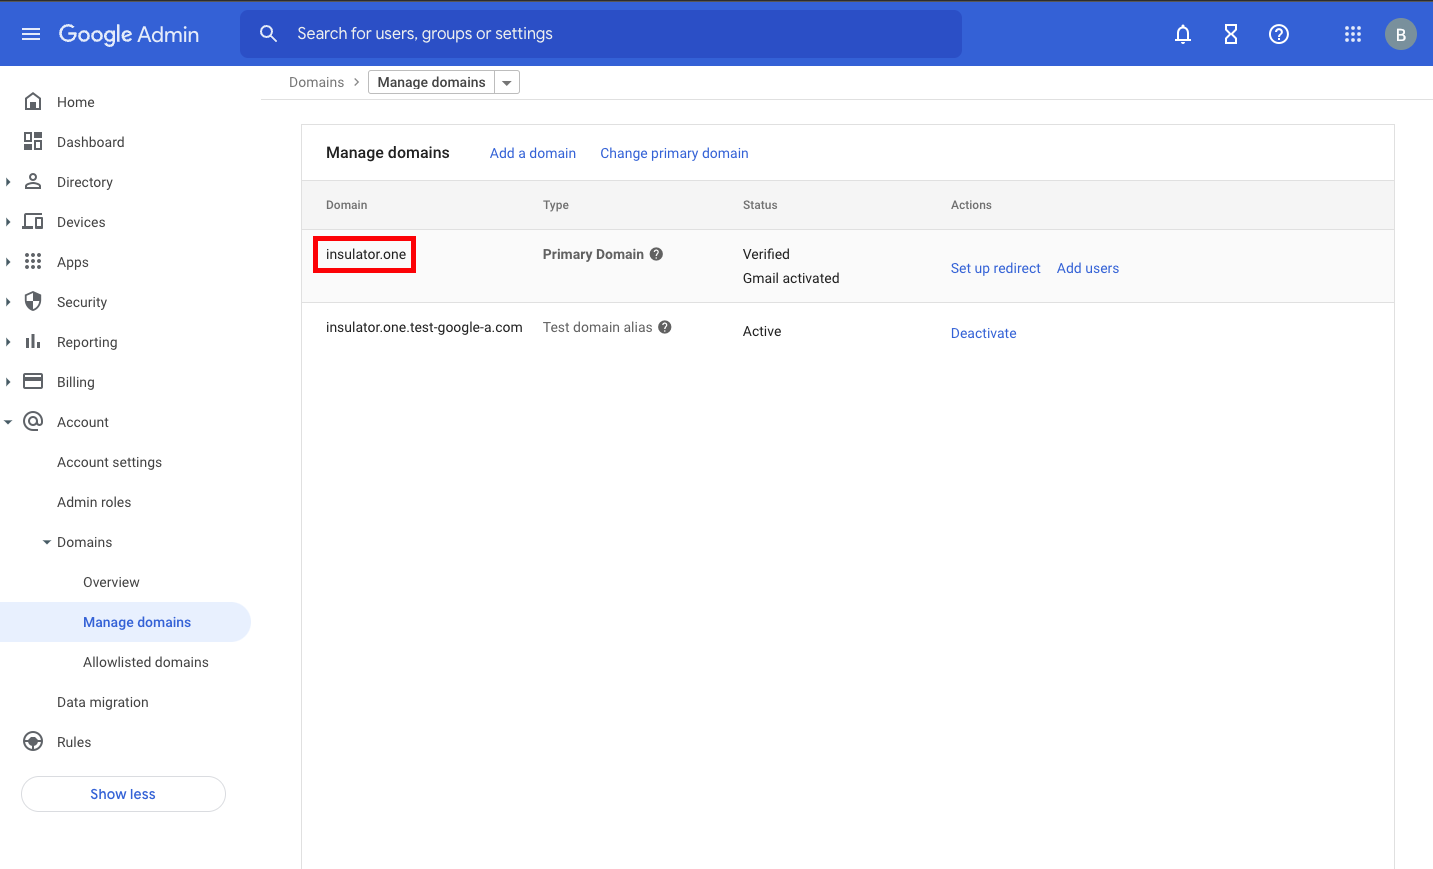
Step 7: Add your Google Workspace credentials to ConductorOne
1
In ConductorOne, navigate to Admin > Connectors > Google Workspace.
2
In the list of connectors, locate and click on the name of the connector with the Not connected label.
3
Find the Settings area of the page and click Edit.
4
In the Customer ID field, enter the customer ID from Step 5.
5
In the Domain field, enter the primary domain from Step 6.
6
In the Administrator email field, enter the email address associated with your domain or a super admin.
7
In the Credentials (JSON) area, click Choose file and upload the file from Step 4.
8
Click Save.
9
The connector’s label changes to Syncing, followed by Connected. You can view the logs to ensure that information is syncing.